
DIY holiday projects
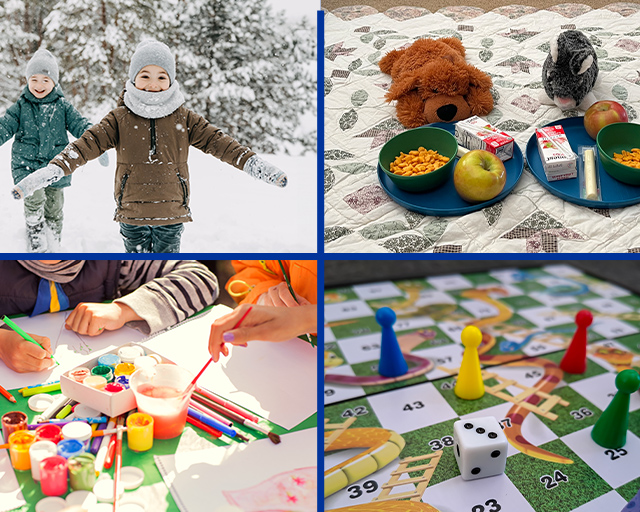
Home decor is always more fun when it’s DIY. “Sleigh” the decor game by making these fun, family-friendly winter projects. An added bonus? They involve items you may already have around the house, so they’re fun AND budget friendly.
festive garland

supplies needed:
· cardstock in gray and other colors
· ruler
· string
· scissors
· double-sided tape
· hole punch
· pen or pencil
what to do:
- cut the colored cardstock into 1”x8.5” strips for the bulbs, and cut the gray cardstock into 1.25”x4” strips for the light sockets
- fold each colored strip in half and punch a hole in the end
- score the gray paper every half-inch, and punch a hole in the third section. Then fold the strip along each score and use the tape to stick the ends together
- slide the colored paper strip inside the gray paper circle, thread a string through the holes and repeat for all the bulbs. You’ll love it a whole watt!
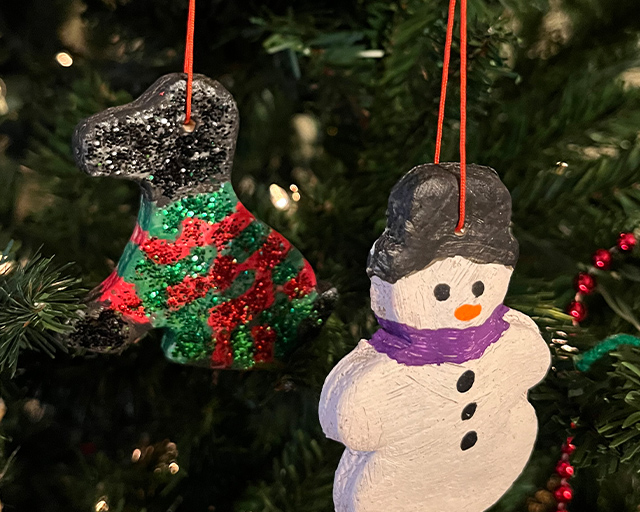
salt dough ornaments

supplies needed:
· mixing bowl and spoon
· baking sheet
· rolling pin
· parchment paper
· cookie cutters
· 4 cups of all-purpose flour
· 1 cup table salt
· 1 ½ cups of warm water
· straw
· ribbon
· glitter, paint or anything you’d like to decorate with
what to do:
- preheat the oven to 300°F
- in a large bowl, mix the flour and salt, then slowly pour in the water and mix until everything is blended. Use hands to finish mixing, until the dough is soft and completely blended
- place half of the dough between two pieces of parchment paper and roll out until the dough is 1/8” thick, then remove the top layer of parchment paper. Repeat with the remaining dough
- lay the dough out flat and cut shapes with the cookie cutters, leaving the shapes on the parchment. Remove the excess dough and put the parchment with shapes on a baking sheet
- using the straw, poke a hole at the top of each ornament to make a hole for hanging
- bake in the oven for an hour, or until the dough is hard
- wait for the dough to cool, then get busy! Use paint, glitter, or whatever decorations you want to make your ornaments festive and fabulous
- thread a ribbon, string or ornament hanger through the holes, and really spruce up your holidays!
wintry luminary

supplies needed:
· white paper
· crafting knife or scissors
· double-sided tape
· ruler
· LED tea light
what to do:
- print out the template here or create one of your own
- cut carefully, removing the shaded areas (if you used the template)
- wrap the paper band in a circle so the ends meet, then tape the two ends together
- place one of the tea lights in the center and enjoy the glow!
Christmas countdown chain

supplies needed:
· red, green, white construction paper
· ruler
· pencil
· scissors
· glue stick
· markers
what to do:
- Use your ruler to divide your construction paper into even rectangular strips. Cut along the lines you measured and sort your strips by color. You should have at least 24 strips with 8 of each color.
- With your maker, write numbers from 1 to 24 on alternating color strips of construction paper. Feel free to also decorate your paper strips as much as you like.
- Starting with the strip of paper with the number 1 on it, create a ring by connecting and gluing two sides of the rectangle together. Then repeat with the rest of the strips of construction paper going numerically and looping each strip around the previous number.
- After you are done linking the chain feel free to display it somewhere in your home where it can be easily reached. As each day goes by between December 1st and December 24th, rip off one of the chain links to help count how many days are left until Christmas.
craft stick picture frame ornament

supplies needed:
· 19 regular craft sticks
· glue
· 3″ x 3“ photo
· ribbon or twine
decorating options:
· colored pencils
· markers
· paint and paint brushes
· glitter
what to do:
- Align 11 craft sticks evenly side by side horizontally, and then glue two pairs of sticks along the ends vertically; then let dry.
- Take the remaining four craft sticks and glue two side by side horizontally along the top and two side by side along the bottom.
- After all the glue has dried, choose how you would like to decorate your ornament with either colored pencils, markers or paint. If you want your ornament to really sparkle on your tree, feel free to add glitter to the frame.
- Once the frame has been decorated, glue your 3″ x 3″ photo to the center of the ornament. Then create a loop with a piece of ribbon or twine and glue it to the back of the ornament. Now you’re all set to display your craft stick picture frame ornament on a tree, refrigerator or anywhere else you’d like.
Related Posts